Fallout 4 Infiltrator/Stealth Build "The Glen" (Pro Tips)
written by Justin Prince (@prince_justin)
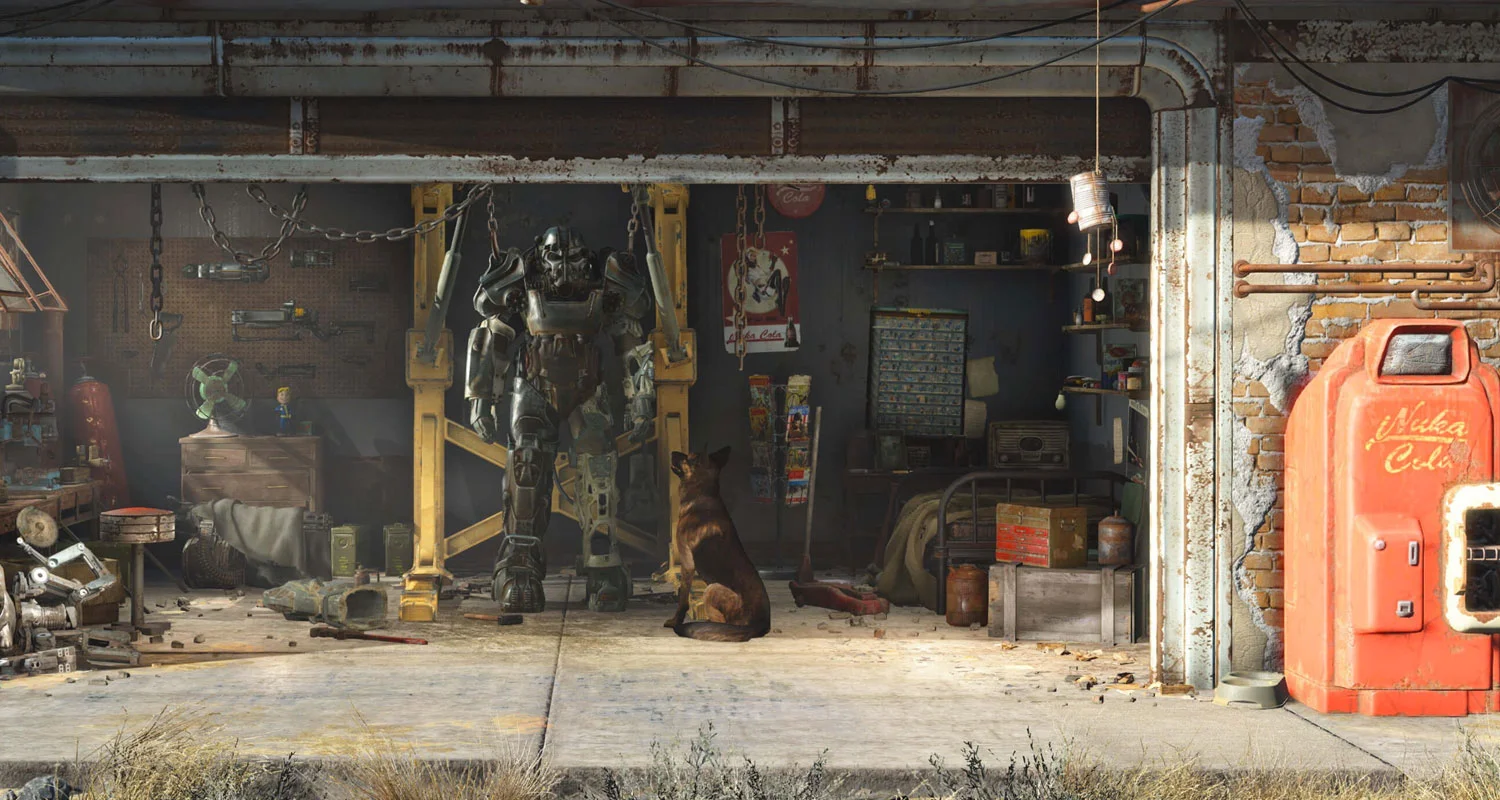
Sometimes you want to get in and get out, often times without your enemies knowing you’ve been there. If crouching is second nature to you as a Fallout 4 player, “The Glen” might just be the build for you. I named the build after one of my favorite characters from The Walking Dead, Glen is the group’s stealthy member… able to get in and get out safely while remaining largely undetected.
He’s an infiltrator with an accurate aim, and despite being fairly squishy… this build has alot of utility.
First off, is to build your initial character, if you’ve read my Survive the Commonwealth Wasteland article, this was one of the three starting builds I talked about in the piece. Some have wanted me to expand on it a bit so that’s where we are now, set your “SPECIAL” stats to the following:
S (4) P (7) E (2) C (1) I (1) A (7) L (6)
Perception, Agility, and Luck are the three paramount stats to plug in to. With a low endurance, charisma, and intelligence you’ll spend a decent amount of time plugging added ranks into those stats in between purchasing key perks. Since “The Glen” is a stealth build, you don’t need a high strength stat since you can always rely on your companions to act as pack mules while wearing relatively light armor and limited weaponry. While you can carry a weapon with spread like a shotgun, you’ll want to focus on carrying one or two non automatic pistols, preferably with suppressors… but we’ll get to that later.
How to build:
While it can happen in the blink of an eye, I will focus on your first 20 levels on this build. It will give you, as the player, a decent place to continue to build and also to play around with.
Level 1 to 5:
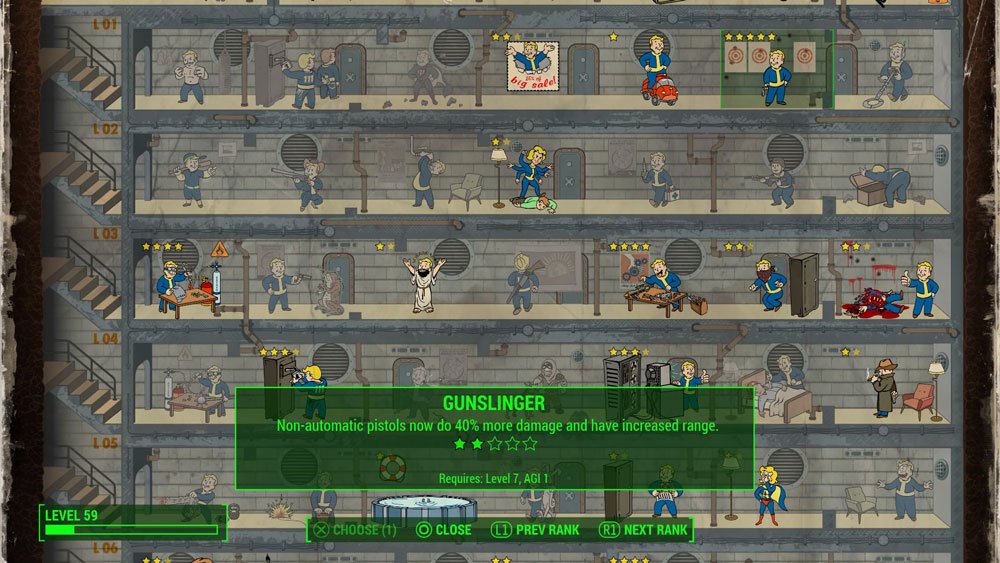
Gunslinger rank 1 (A) should be the first perk you nab, this allows “The Glen” to channel the spirit of the Wild West; granting a 20% bonus to non-automatic pistols. Since we’ll be focusing on building this character around handguns, this dramatically increases how much damage you can dish out.
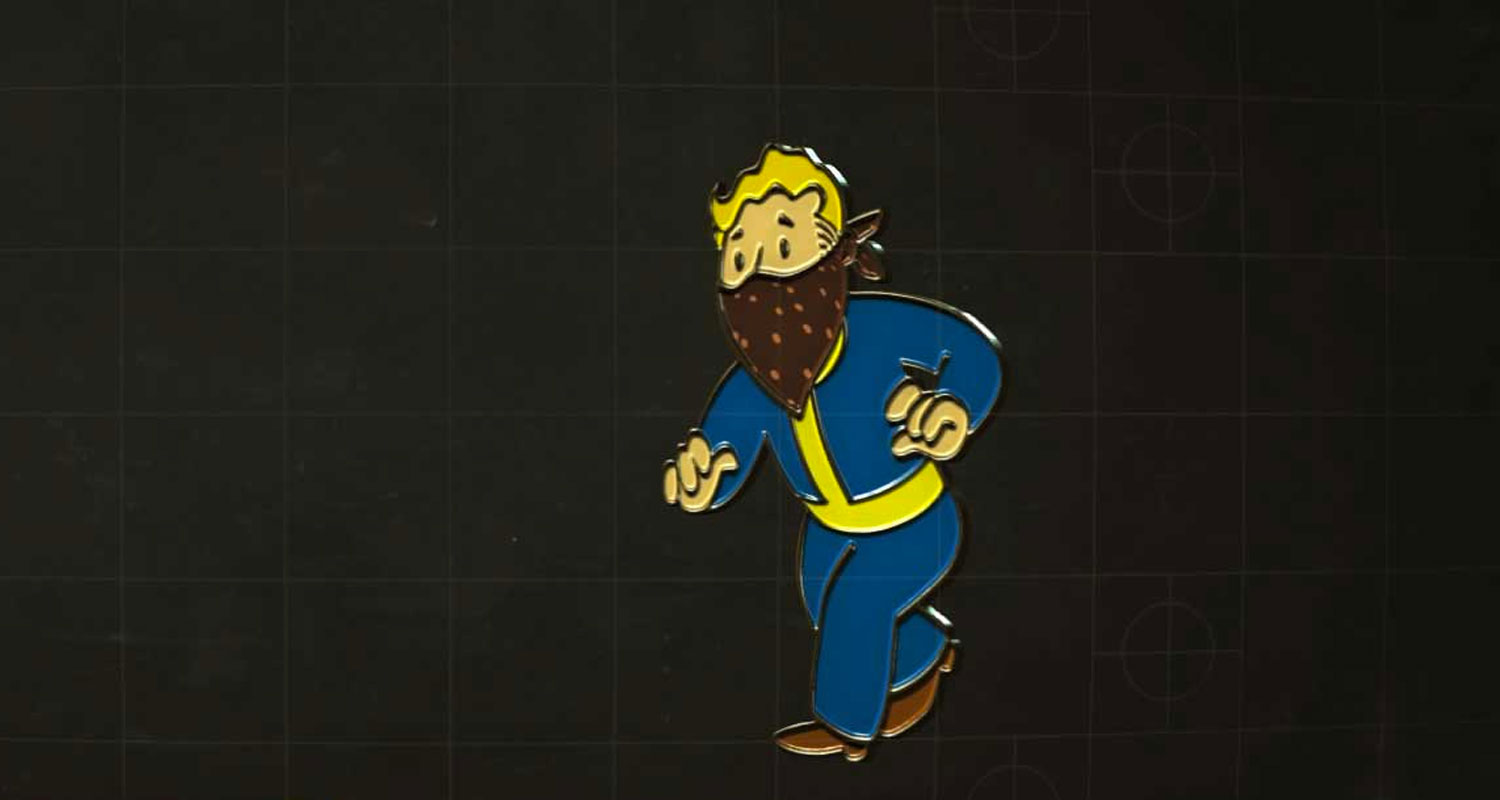
it's the wild, wild, west
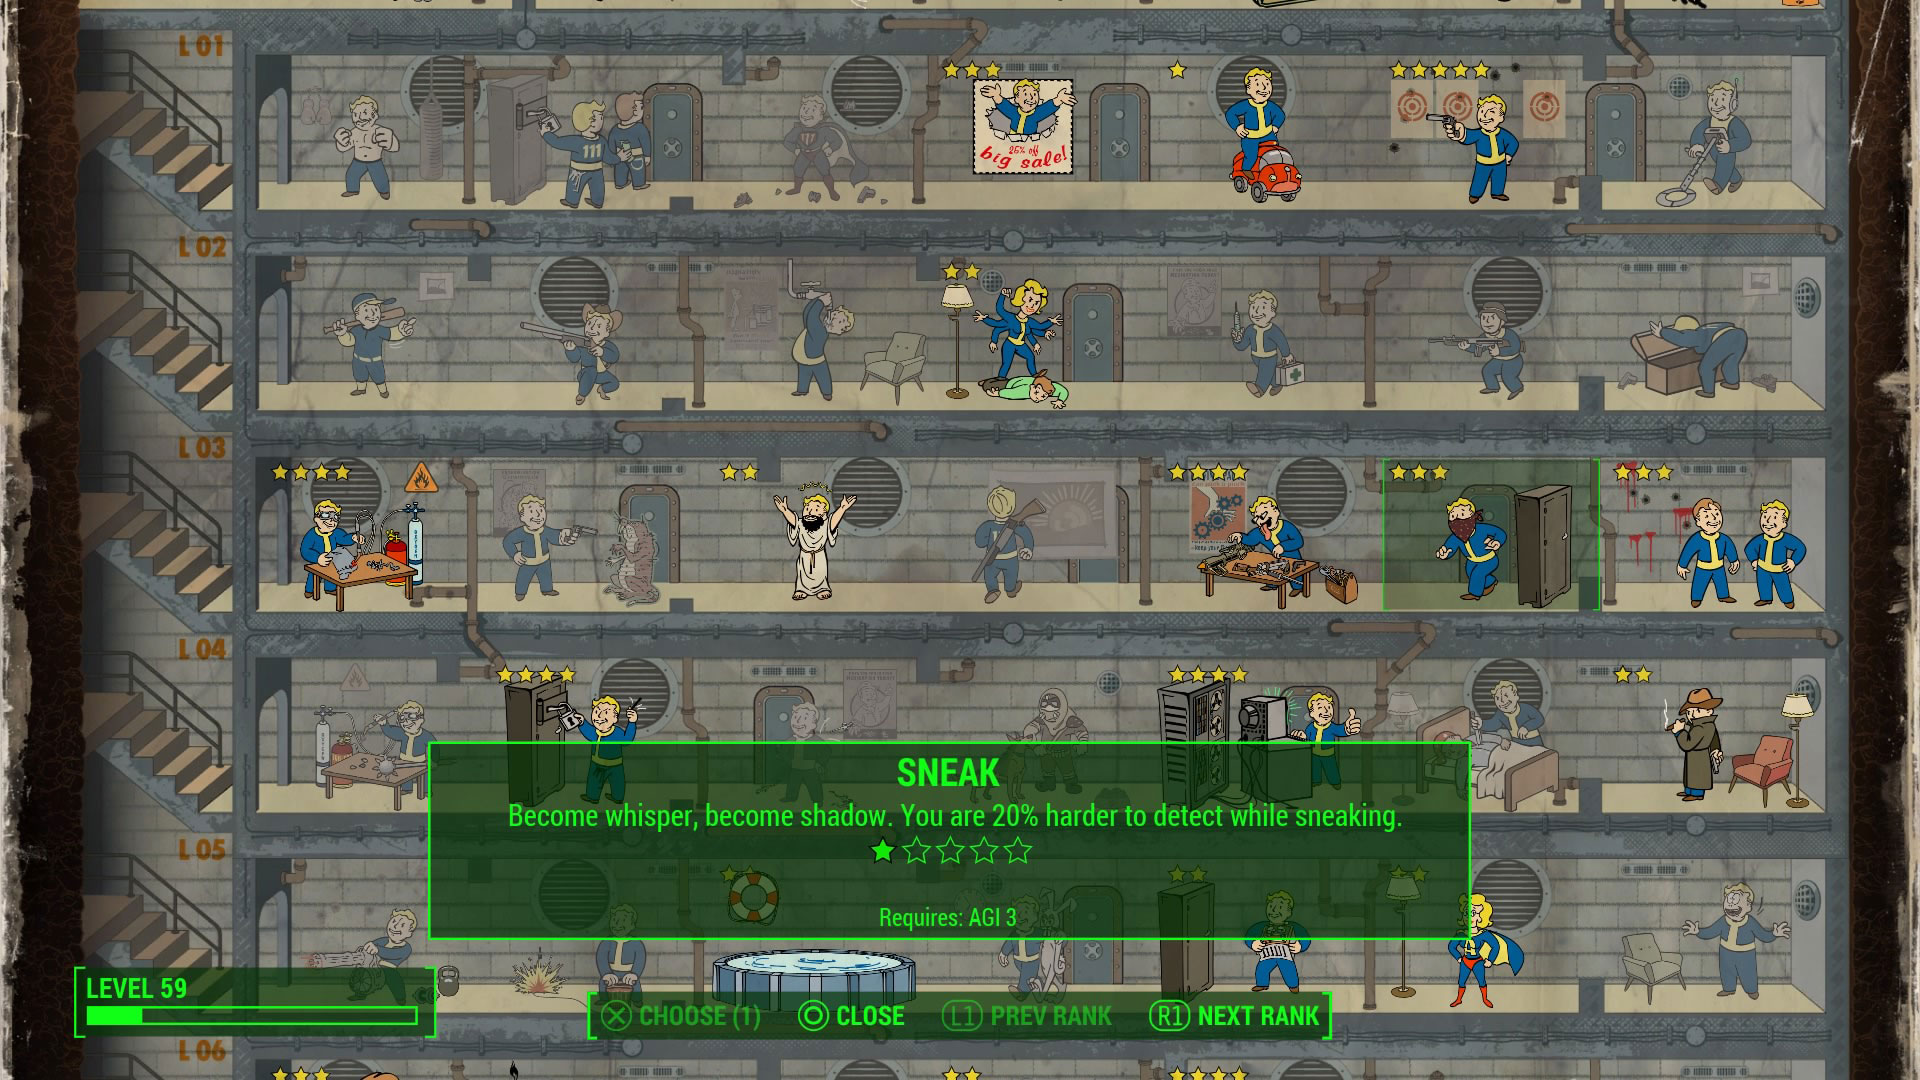
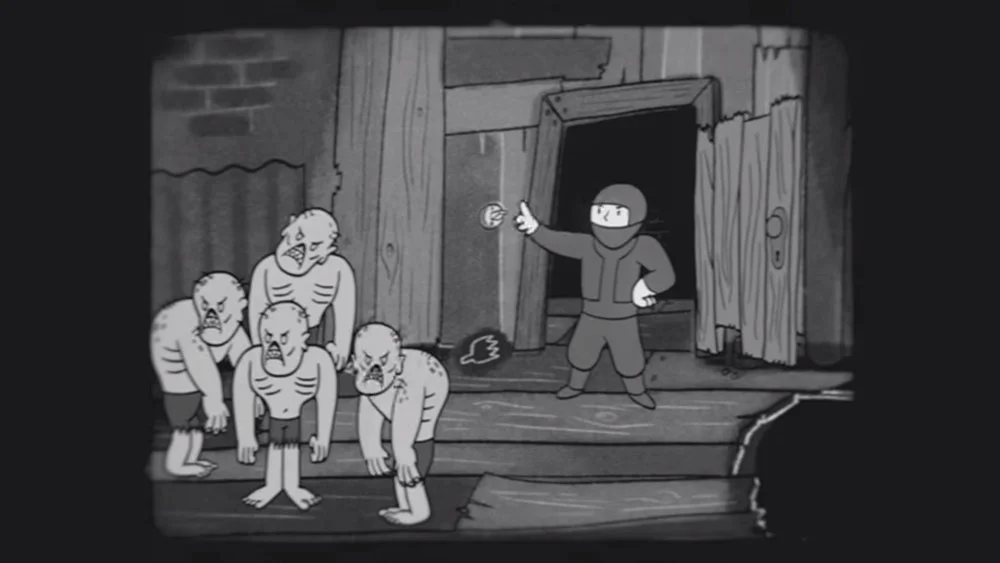
Sneak rank 1 (A) should be your next ability and this will be one of the key perks for “The Glen” build. This first rank makes you 20% harder to detect while sneaking, something you’ll be doing most of the game. While at a low level, you will die alot when you sneak… but at least this can help you along the way, just make sure to quicksave often.
Action Boy/Girl rank 1(A) should be your level 4 purchase. Most of your combat will be in VATS, so increasing the refresh rate of your Action Points can make the difference between life and death. This first rank will increase your AP refresh rate by 25%.
Sneak rank 2 makes the perfect level 5 perk; further increasing your sneaking ability and even better comes bundled in with the added perk of no longer triggering floor-based traps. With such a low Endurance rank, and wanting to keep yourself from being detected, this will be a godsend when infiltrating Raider and Gunner strongholds… which generally are littered with traps.
sneaky
These first 5 levels should help build a strong base for your character, but getting to the midway point is where we begin to build your Sole Survivor into the embodiment of a whisper.
Level 6-10:
Rifleman rank 1 (P) can help diversify your approach to battle. For when an enemy is strong enough to resist pistols, you’ll want to break out a sniper rifle. This allows you to stay back further when sneaking while arming yourself with the stopping power of a high caliber rifle. The first rank ups non-automatic rifle damage by 20%.
Ninja rank 1 (A) should be your level 7 pick, this perk augments your sneak attack damage modifer; 2.5X ranged and 4X melee.
Go Ninja Go Ninja GO!
Grab Locksmith rank 1 and 2 (P) for level 8 and 9, as an infiltrator you’ll want to be able to sneak around danger. While it’s tempting to just fill your enemies full of holes, sometimes you want to be able to get around the danger, and often times buildings afford a decent alternate route behind a door you need to unlock.
For level 10, dump a point in Endurance to increase your survivability. Honestly you can plug an additional special point into rank you wish but this will increase your endurance to 3 which plays into the next round of perk buying…
“[The Deliverer] will be your main weapon and hands down your favorite gun.”
Level 11-15:
Level 11, still too early to purchase the next rank in Sneak so we’re gonna augment your ability to survive a bit. Plug a point in Life Giver (E) to give yourself an additional +20 to your max health.
Back to Sneak (A), purchase rank 3 to make you 40% harder to detect and comes with the added bonus of no longer triggering enemy mines.
Level 13 and 14 begins building your scavenging abilities, pick up Fortune Finder (L) rank 1 and Scrounger (L) rank 1; both allow you to find more caps and ammo in containers. Caps are so very hard to come by, and you’ll need it with such a low Charisma rank… also, you can never have enough bullets… right?
Gunslinger (A) rank 3 should fill the level 15 spot, this increases non-automatic handgun damage by 60%, making those successful headshots all the more crippling.
Level 16-20:
Nearing the end of this initial build, Level 16 and 17 should plug into Endurance and the second rank of Life Giver (E). Adding another 20 health plus increasing your health overall is always good for surviving.
Grab Locksmith (P) rank 3 with your level 18 point, now being able to unlock Master locks, your choices of getting around and finding useful items increase exponentially.
For level 19, let’s continue the path of the Ninja (A) by purchasing rank 2; this grants a 3X bonus for ranged and 5X bonus for melee sneak attacks.
For level 20, grab the third and final rank in Life Giver (E); with all three ranks you now have +60 additional health and now slowly regenerate lost health. Helping save on using your stimpacks and to further your Sole Survivors survivability in the wastes.
TL;DR Level 1 to 20: Gunslinger 1, Sneak 1, Action Boy/Girl 1, Sneak 2, Rifleman 1, Ninja 1, Locksmith 1, Locksmith 2, ANY SPECIAL, Life Giver 1, Sneak 3, Fortune Finder 1, Scrounger 1, Gunslinger 3, Point in END, Life Giver 2, Locksmith 3, Ninja 2, Life Giver 3
—
With the first 20 levels, you now have a decent base for the rest of the game. During my playthroughs, I made it to level 50+ when I hit endgame, so depending on how much you tackle side quests… this can be just a drop in the bucket for your character. A few additional tips before we get away from the per chart, plug some points into Endurance and Charisma… especiallyCharisma if you like negotiating more caps for a job. Two optional perks I love to pick up are Mysterious Stranger and Bloody Mess perks… mostly just for fun.
Tactics:
Most of your infiltrations will have you crouched the majority of the time you explore. Stay in the shadows and be mindful of how well you are hidden. Unlike previous games in the series, the brackets that surround “hidden” and “caution” serve as an indicator for how well hidden you are. The more space between the brackets and the word, the better hidden you are. Use this to your advantage and utilize it to manage how well you can stay hidden.
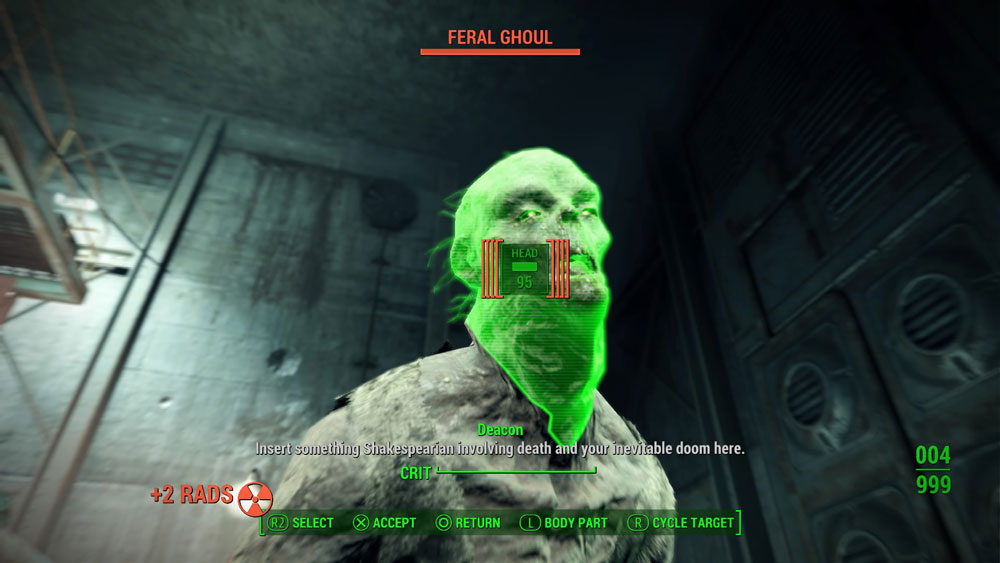
go for the head
With a high luck stat, your critical meter fills quicker. Use this to your advantage and don’t hesitate to use it often. Crits function differently in Fallout 4, instead of it relying solely on a dice roll, you can use it anytime as long as you fill up your meter. One thing to note is that criticals NEVER miss. So even if you have a 15% chance to hit a head shot, activating your critical attack at an opportune time can make all the difference when you’re pinned down against a battalion of the Commonwealth’s baddest.
Arming Yourself:
Like I said above, you are going to want a pistol… preferably one with a suppressor. You can buy them, but it might be more beneficial to find one out in the wasteland. As “The Glen” one of the first factions I suggest you join up with (aside from the Minutemen) is the Railroad, a group of Synth sympathizers who combat the oppressive nature of The Institute and their Synths. After following the Freedom trail… or just going to the North Church and plugging RAILROAD into the passcode wheel (under the church), you come face to face with the Railroad. One fo the early missions has you finding out the status of a safehouse, which lead you to discovering the fate of one of their agents and being gifted his silenced handgun… the Deliverer.
This will be your main weapon and hands down your favorite gun. Not only do you have an improved VATS hit chance, but also you consume 25% less action points. More shots… better accuracy… quiet as a whisper.

hands down the BEST pistol in the game
Sniper rifles are useful, but if you don’t find one with a silencer you end up outing your location to the enemy. The Tinker Tom Special is a unique sniper rifle you can buy from Tinker Tom, a member of the Railroad.
If you are lucky enough to find any Legendary armor pieces with the Chameleon ability, you can essentially become invisible when not moving. If you remember the Chinese Stealth Armor from Fallout 3, it’s alot like that… except this time the invisibility effect end when you begin to move.

get your invisibility on
Other useful pieces of armor are those created with shadowed material, these black armor pieces make you harder to detect in dark locales. Stick to the shadows spend a decent amount of your exploration time at night to further make use of these armor pieces benefits.
Companionship:
Two companions are perfect for this build, but I do suggest using them all and building up their affection to receive unique perks.
MacCready (found in Goodneighbor) and Deacon (part of the Railroad) make excellent traveling partners for a stealth build. You should focus on building their affections first because their individual perks will greatly benefit the overall build. MacCready grants the Killshot perk, increasing your headshot accuracy in VATS by 20%… as of this article’s publish date, this perk is slightly bugged and I’m sure Bethesda plans to patch it. The bug isn’t bad but actually kind of game breaking. Instead of coding in 0.2 in the algorithm, it was coded with 20… which in percentages is a 2,000% increased head shot chance… basically… at least before they patch, this is a guaranteed headshot. Deacon’s perk Cloak & Dagger increases Stealth Boy duration by 40% and buffs sneak attack damage by 20%.

Deacon and his ever changing wardrobe
Shortcomings:
This build does have some shortcomings, with a low rank in Endurance, Charisma, and Intelligence you will be less likely to convince NPCs in speech checks, you will be very squishy, and you will not benefit from the XP bonus from a high Intelligence stat. This guide is more of a quick build, it’s why I focused on the first 20 levels. With all the sidequests you can complete and things you can kill, you will hit the double digits before you even scratch the surface of this game.
One option you can do is push the guidelines for building levels 11 to 20 up to 21 to 30; this opens up levels 11 thru 20 to customize the build to your own personal playstyle. If you’d like to further your settlements, I recommend plugging at least 5 additional points into Charisma, raising your Charisma to 6 then unlocking Local Leader rank 1 and 2; this lets you set supply lines between settlements and build stores and workstations within said settlements. I suggest plugging the remainder into Intelligence until you hit level 20, that way you can benefit from the XP bonus. If you like to roll the dice a bit, you can always pick up Idiot Savant (L) and keep your Intelligence at 1 in favor of a big payout of XP if the fates align.
If intelligence is more your bag, you can keep Charisma at 1 and build on Intelligence, plugging 5 points into Intelligence then picking up rank 1 and two of Gun Nut to unlock some useful weapon mods, especially for your pistols. Plug the rest into Charisma then following the guide again after hitting level 20.
—
This guide is meant more as a guideline, so feel free to experiment with it a bit and most importantly have fun. I plan to build a few more character builds based on other pop-culture icons in the near future; should I do more TWD builds? Or venture out into another fandom? Keep it locked and make sure to also check out the quick start guide I wrote to better help you survive the wastes. Nothing stays the same, change is inevitable… but war… war never changes, stay safe out there Sole Survivor... and happy hunting.