Under the Needle: Princess Serenity
Written by Eli Ebberts (@EliEbberts)
With the current Sailor Moon Craze I knew I wanted an impressive costume to wear to Anime Expo 2014, aka Sailor Moon Con. I’ve always loved Princess Serenity’s design, but wanted a way to make it even more elegant! I decided that beading the bodice would be a great way to go!
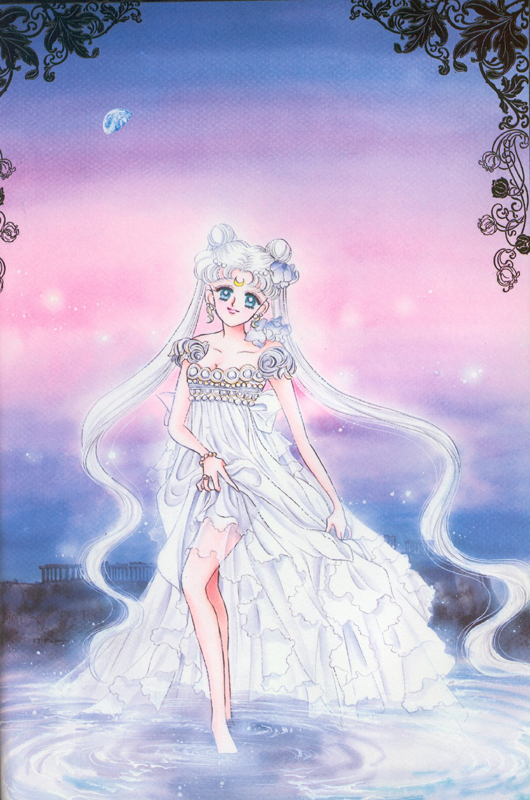

I started by gathering reference images. When I look at references I look not only at official art but at other cosplayers to see what materials they used and what I like (or don’t like) about their cosplay. After my searches I found that I wanted my dress to be based off the manga, and much of my inspiration was from Wind of the Stars, CupCake Cosplay, and Kathrine Zan. I like each of these versions for different reasons, however all of them use chiffon for the skirt and have very full skirts, as well as lots of detailing on the bodice. Once I decided what I liked I set off to begin work on my version of Princess Serenity!
The Dress
First I made the dress. This was the easy part of this costume. The skirt has two layers, a lining layer and a chiffon layer. When I chose my lining I made sure to get something that was still sheer as I wanted to recreate the look of the illustration above, where you can see Serenity’s leg through the dress. The Lining has one full circle skirt and is roll hemmed, the chiffon layer is two full, super long circle skirts that were also roll hemmed. I love roll hemming when I make longer/fuller skirts because it is much easier than hemming and often times looks much cleaner. However I have found that rollemming chiffon often needs to be redone after every convention, just because the chiffon can’t hold up to the wear and tear of walking around. I personally don’t mind that though with how much time it saves me.

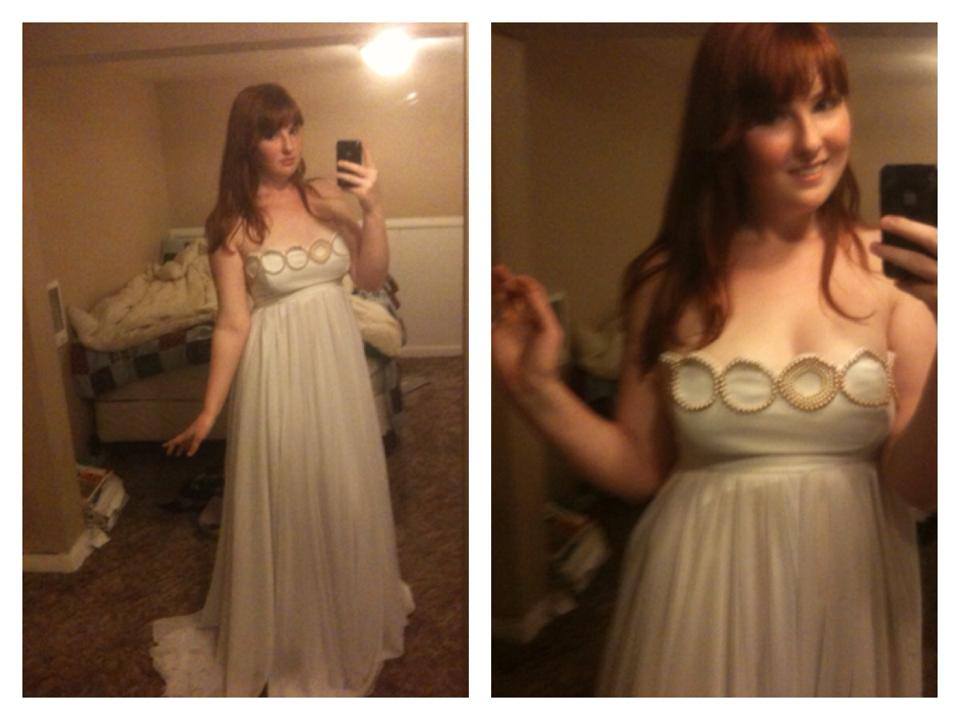
The Base Dress Completed
The Bodice
After I finished the skirts I made the bodice. The bodice is a simple princess seam bodice with a scalloped neck line. Almost all my costumes involve princess seam bodices so this was a pretty easy part for me. You can read my tutorial on princess seams patterns here. I first cut the main material, a casa collection satin, and interfaced it with very heavy interfacing, I knew it would have to be stiff to hold all those beads, I then flat lined this with chiffon to be the very outer layer. Then I made the lining, which has boning channels sewn onto all the seams. I then scalloped the neck line. I find scalloping very peaceful so this was a fun part for me. After that I put bra cups in between the lining and the outer layer. I knew that with the low back I wouldn't be able to wear a bra with this but I still wanted support! I then added the boning and attached the skirt to the bodice. At this point I only attached the outer layer to the skirt, since I wanted all my bead string to be hidden by the lining.
The Beading
Bead pattern laid out
Next I sketched my bead design. I wanted to be sure that I would order enough beads, but not too many extra so I drew out my design to scale (Yes I measured out every single little bead). I only did it for one section, so it wasn’t terrible but it was still tedious. I then figured I would need around 4,300 pearl beads. I ordered all my beads on ebay, they were $1 for 100 beads. So I knew they would be cheap (meaning many wouldn’t fit over my needle) but it was worth it! Once my beads arrived I started beading! First I sketched out my design onto my bodice with a very light pencil, just so I would have some idea what I was doing. I then began to bead the gold circles starting from the outside and working my way in one layer at a time. When beading make sure to use strong polyester thread, otherwise it made snap and you could lose a lot of your work! Also make sure to tie off your beads every 5-6 beads so if a thread does snap you won’t lose the whole section.
First bit of beading completed

Circles Completed and half of scalloped beading
When I bead I leave all my beads in zip lock baggies, which are size and color coordinated, I also have one extra bag where the beads with too small of holes go. Bead itself is very straight forward, put your thread through your fabric, string one bead, put the thread back through the fabric (not at the same point, but about as far away from your first point as your bead is wide), repeat. It’s a very simple process but it is extremely time consuming and can be frustrating. I spent at least 25 hours beading my bodice.

Beading Completed! Left final fabric sleeve, right thermoplastic sleeve
The Finishing Touches
Once I finished beading, I hand stitched my lining closed at the waist, now all my knots and little threads from beading are hidden. I then realized that all the beads made my dress to heavy to be strapless, so I added clear elastic straps. These are easily covered by my pigtails, so it wasn’t a big deal. Then I made the sleeves, I first made a set of sleeves out of thermoplastic, but decided they didn’t have the look I wanted, so my next set of sleeves is simply a gathered band of fabric with one bit of scalloped hem, and elastic at the top and bottom. They are a lot easier to wear and look much cleaner to me.

Completed Wig!
The Wig
My wig is made from and Arda Chibi and Long Clip in Light Blonde. I started this wig two years ago when I wanted to cosplay Super Sailor Moon, so some of the styling isn’t the best. When I first got the wig I stubbed the pig tails with hot glue, and attached half of the long clip to each stub, again with hot glue. While it isn’t bad to use hot glue I didn’t do it very well two years ago and there are some visible hot glue splotches. Recently I finished the Odangos. They are made from hollowed out styrofoam balls with wig hair glued onto them. However instead of using hot glue to add the wefts to the balls, I used tacky glue, which dries clear and can go all over the hair and the ball to keep the hair down and stop fly aways! I then hot glued then onto the stubs and my wig was done! Luckily I could hide the hot glue splotches with the flowers!
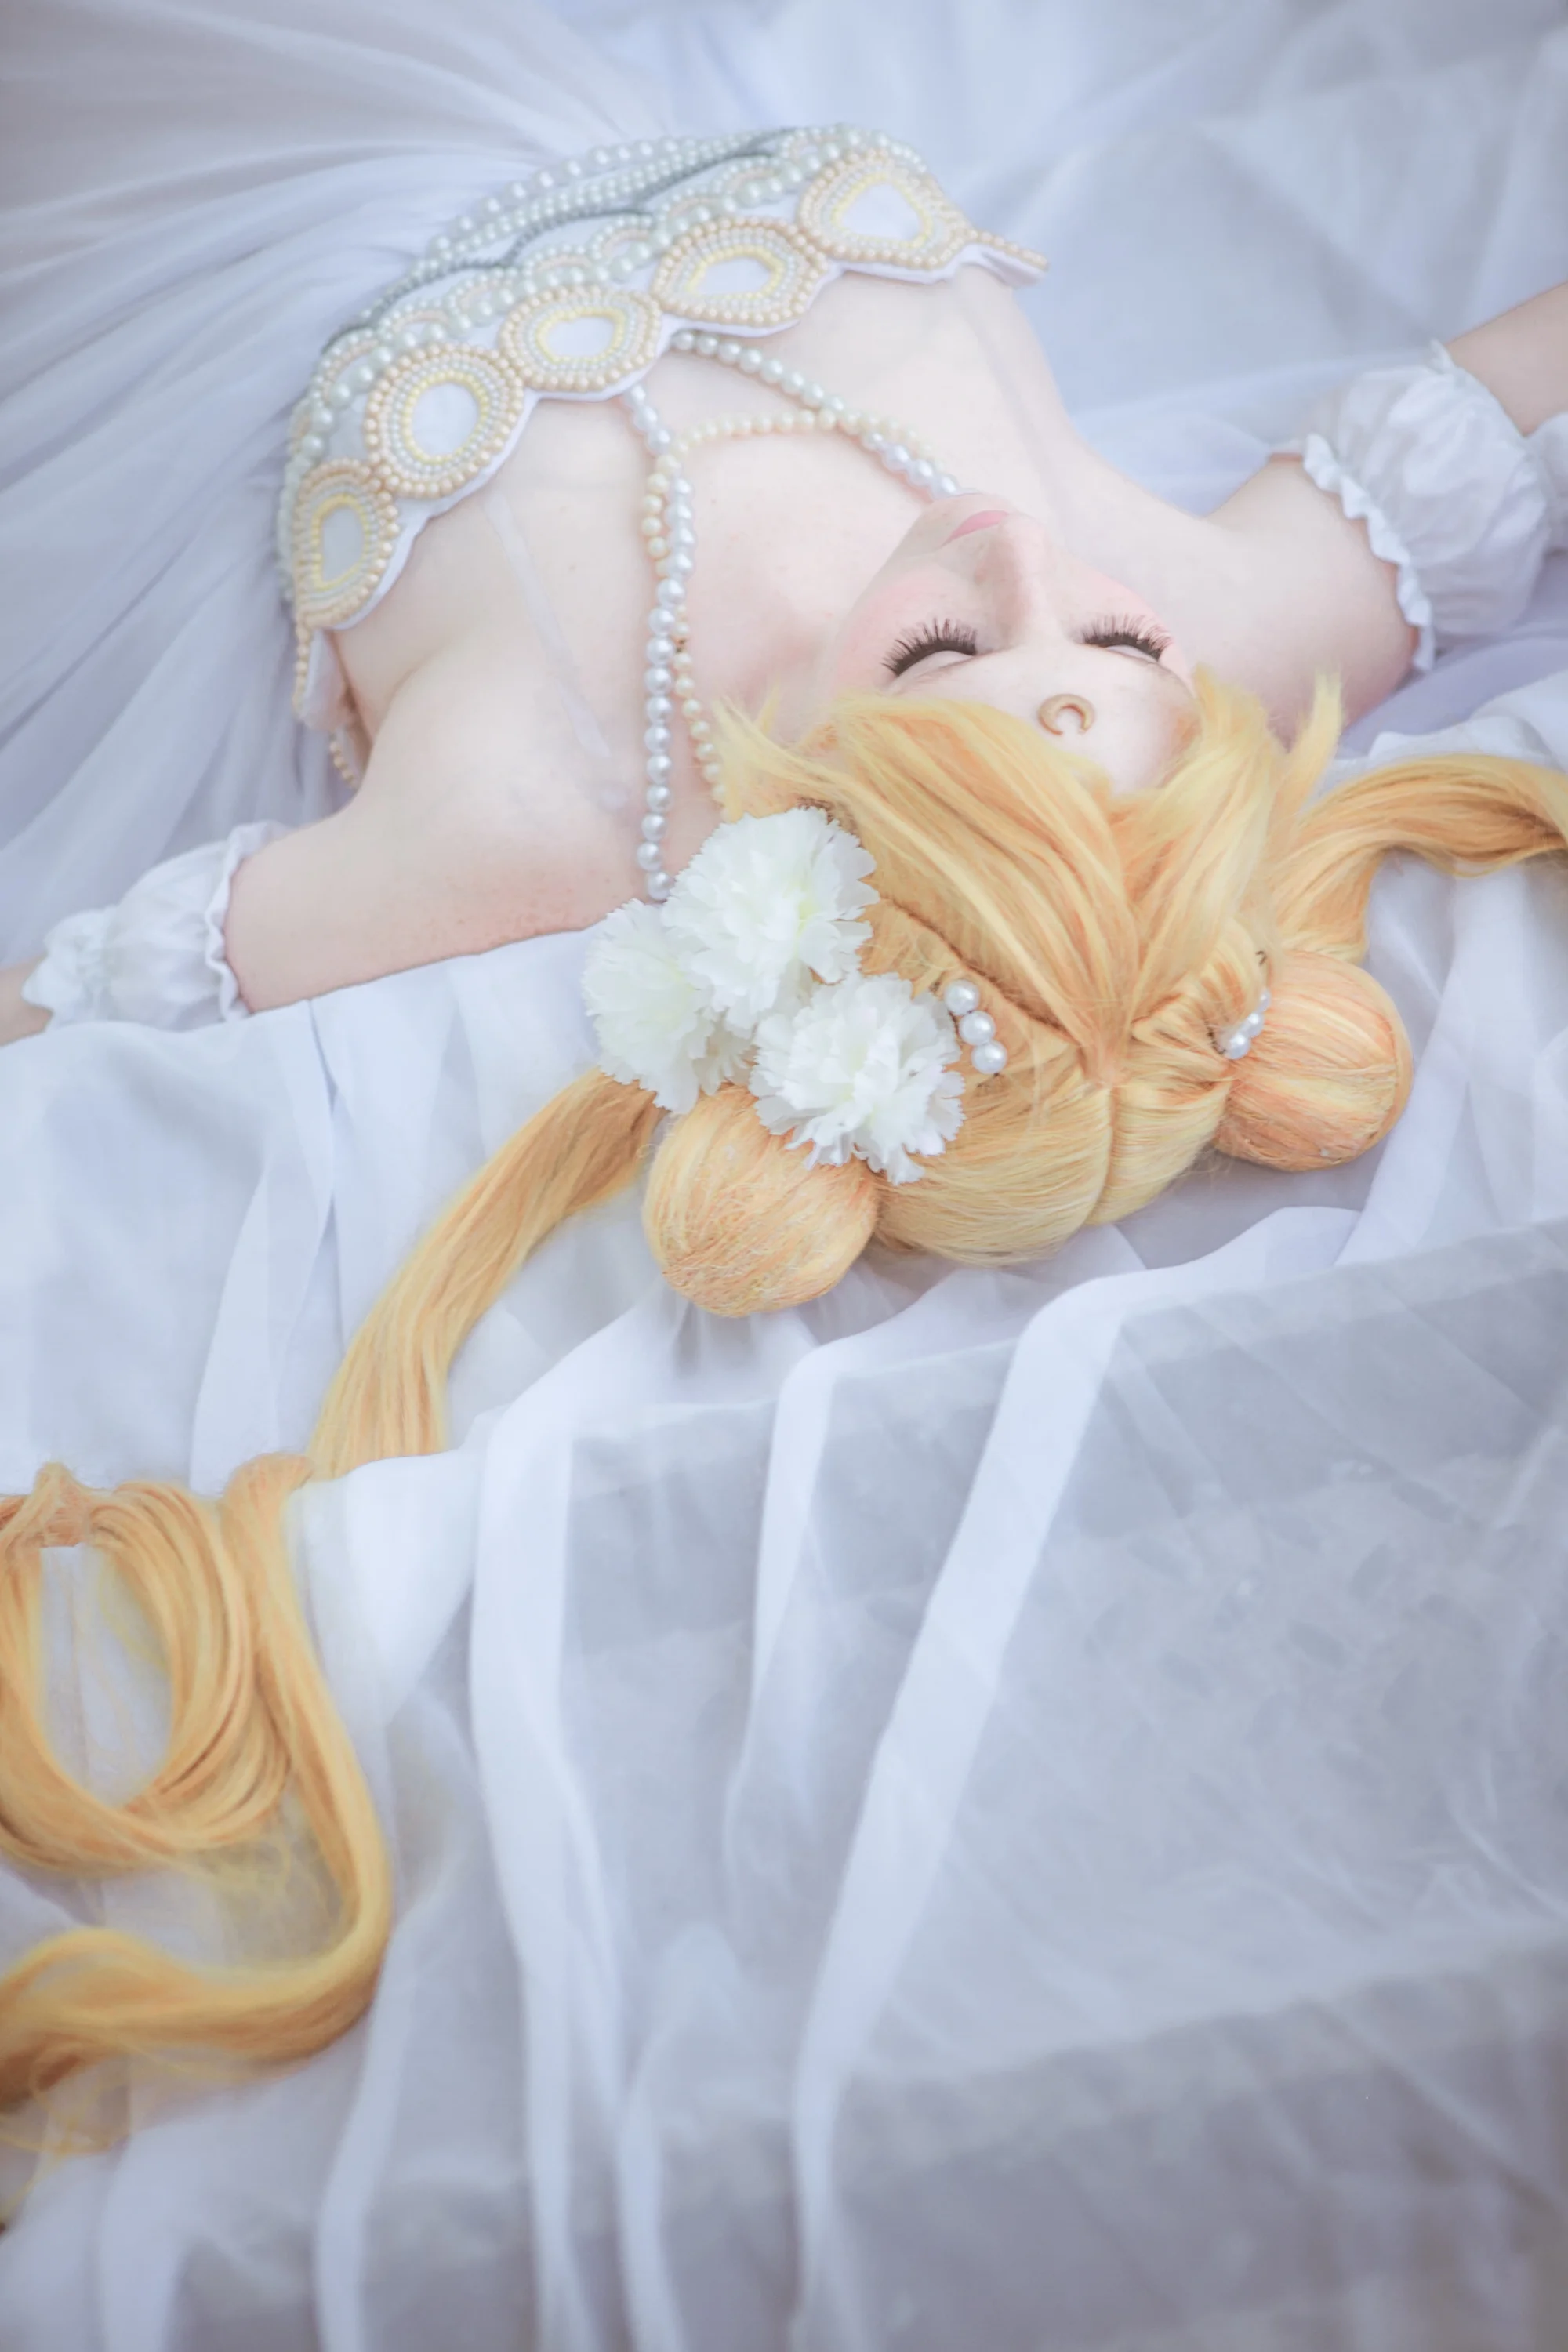
Finished Costume
Here are the photos of my finished costume debuted at Anime Expo 2014!

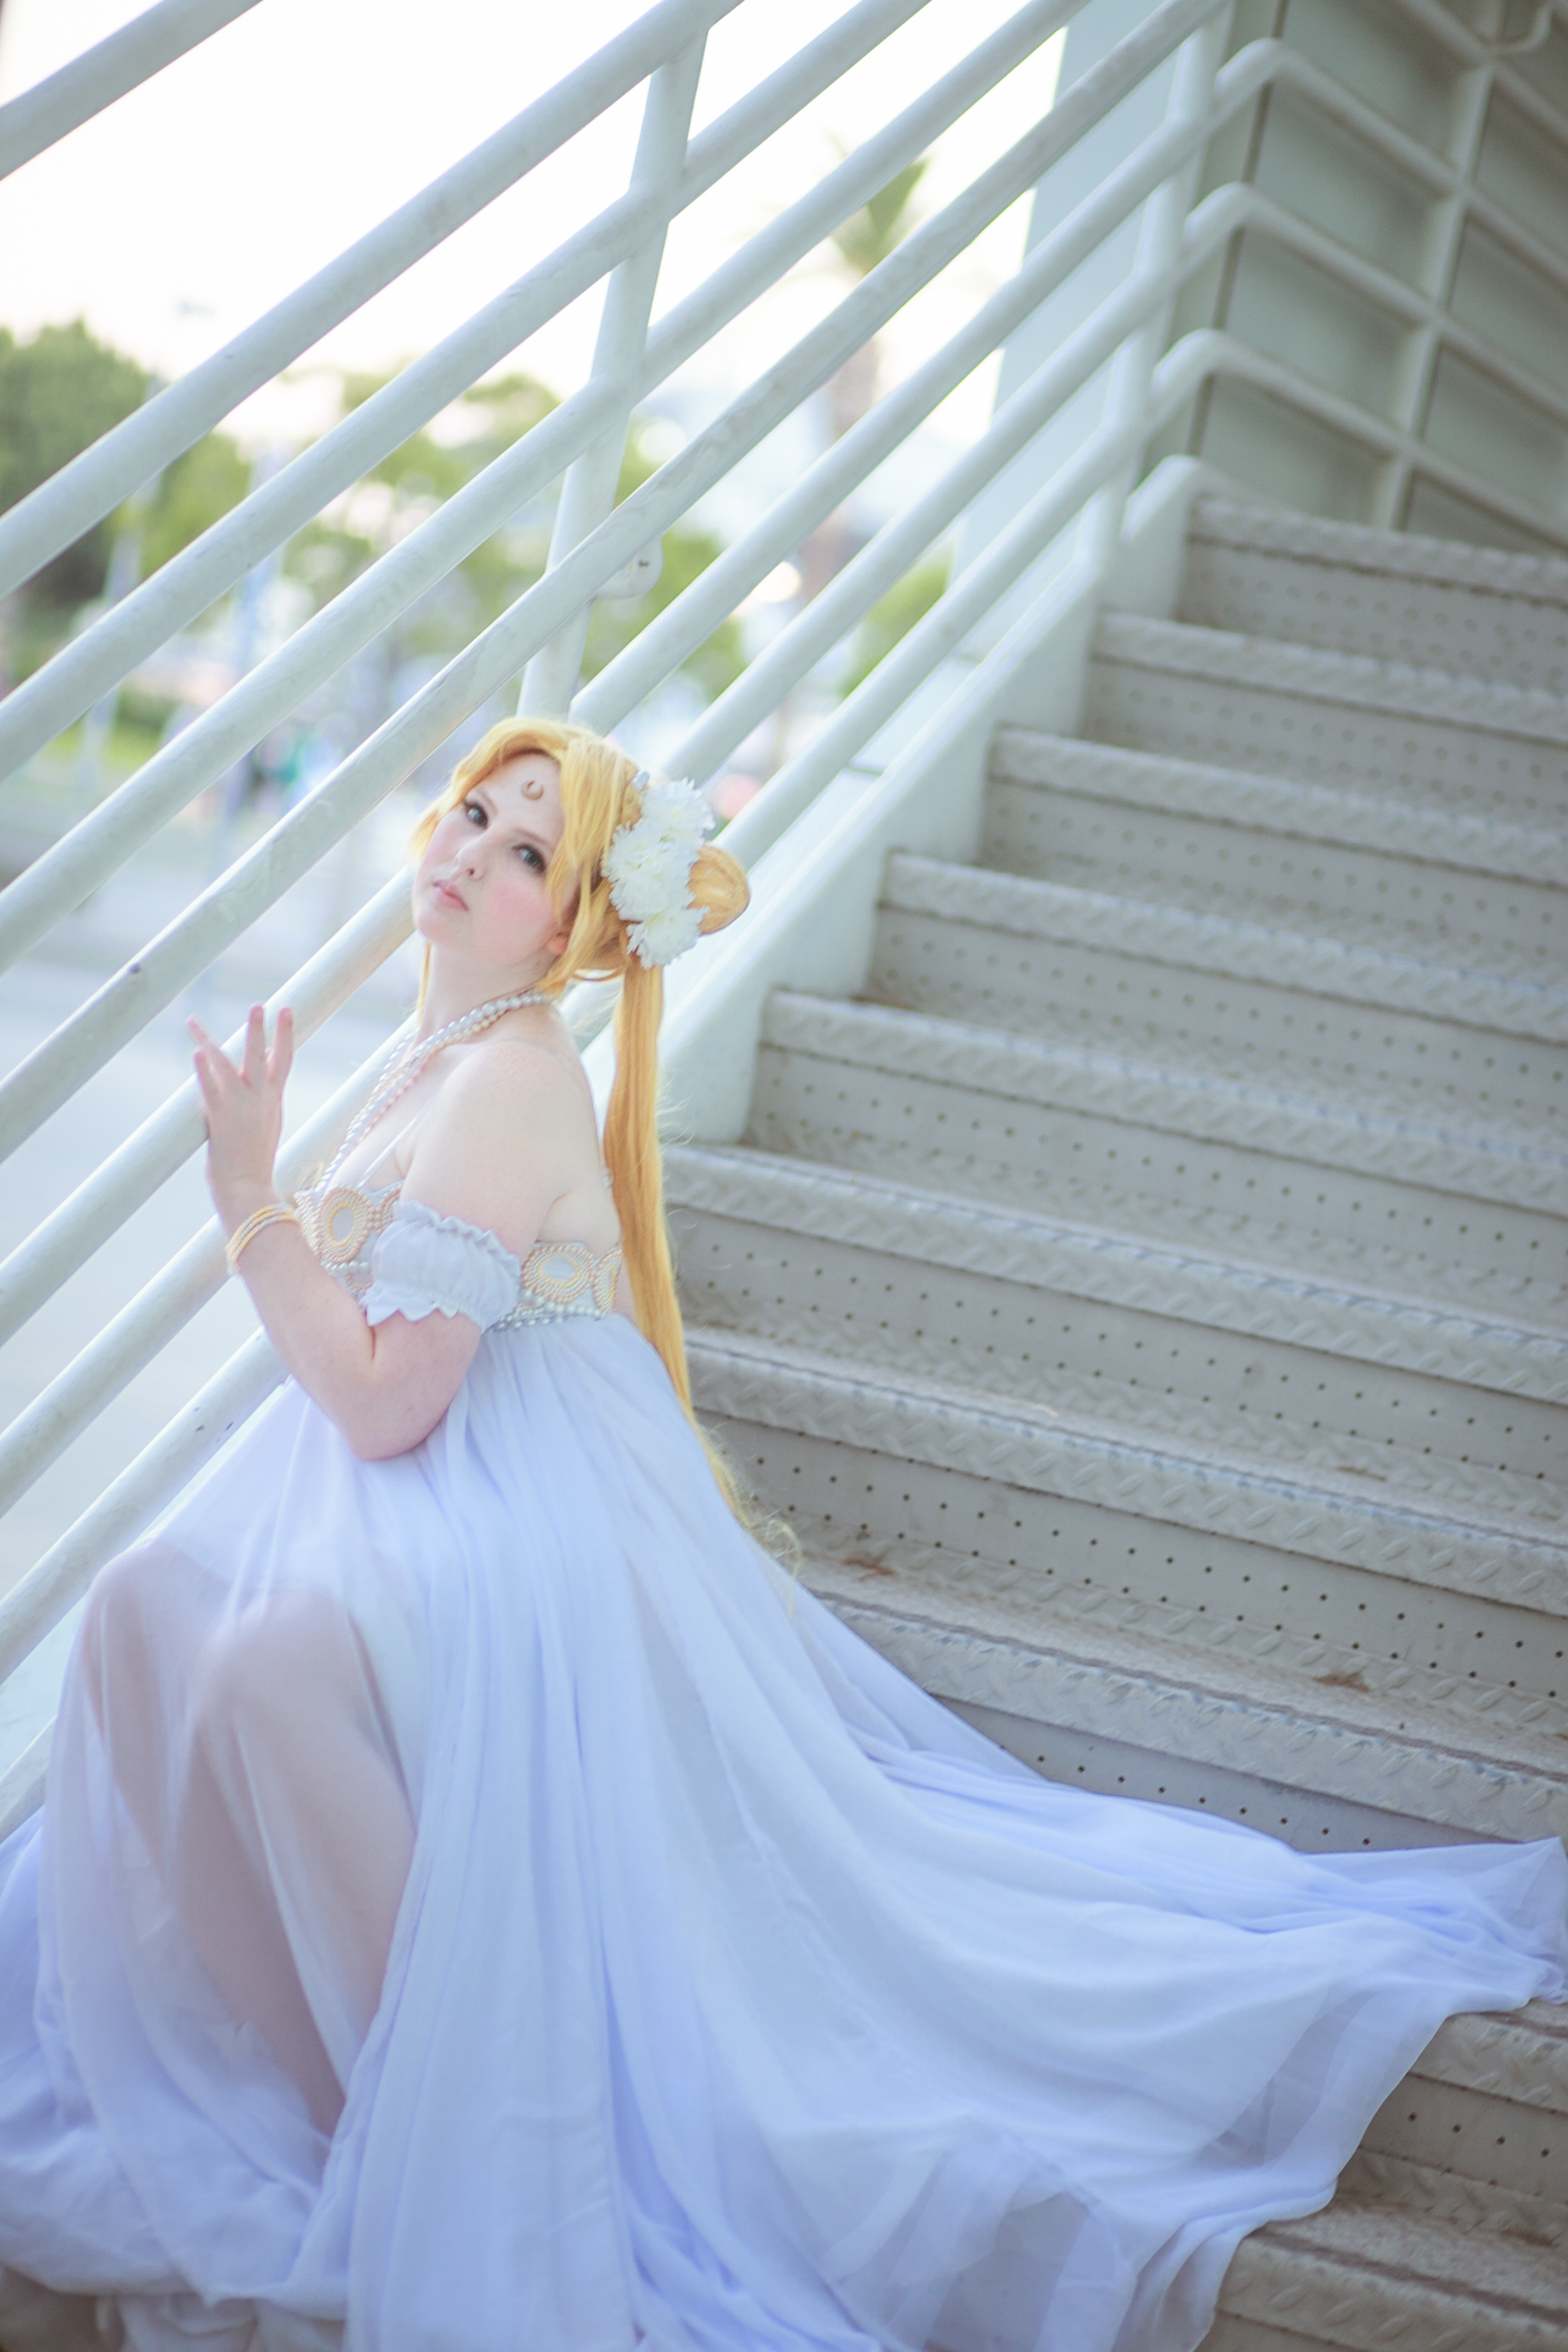
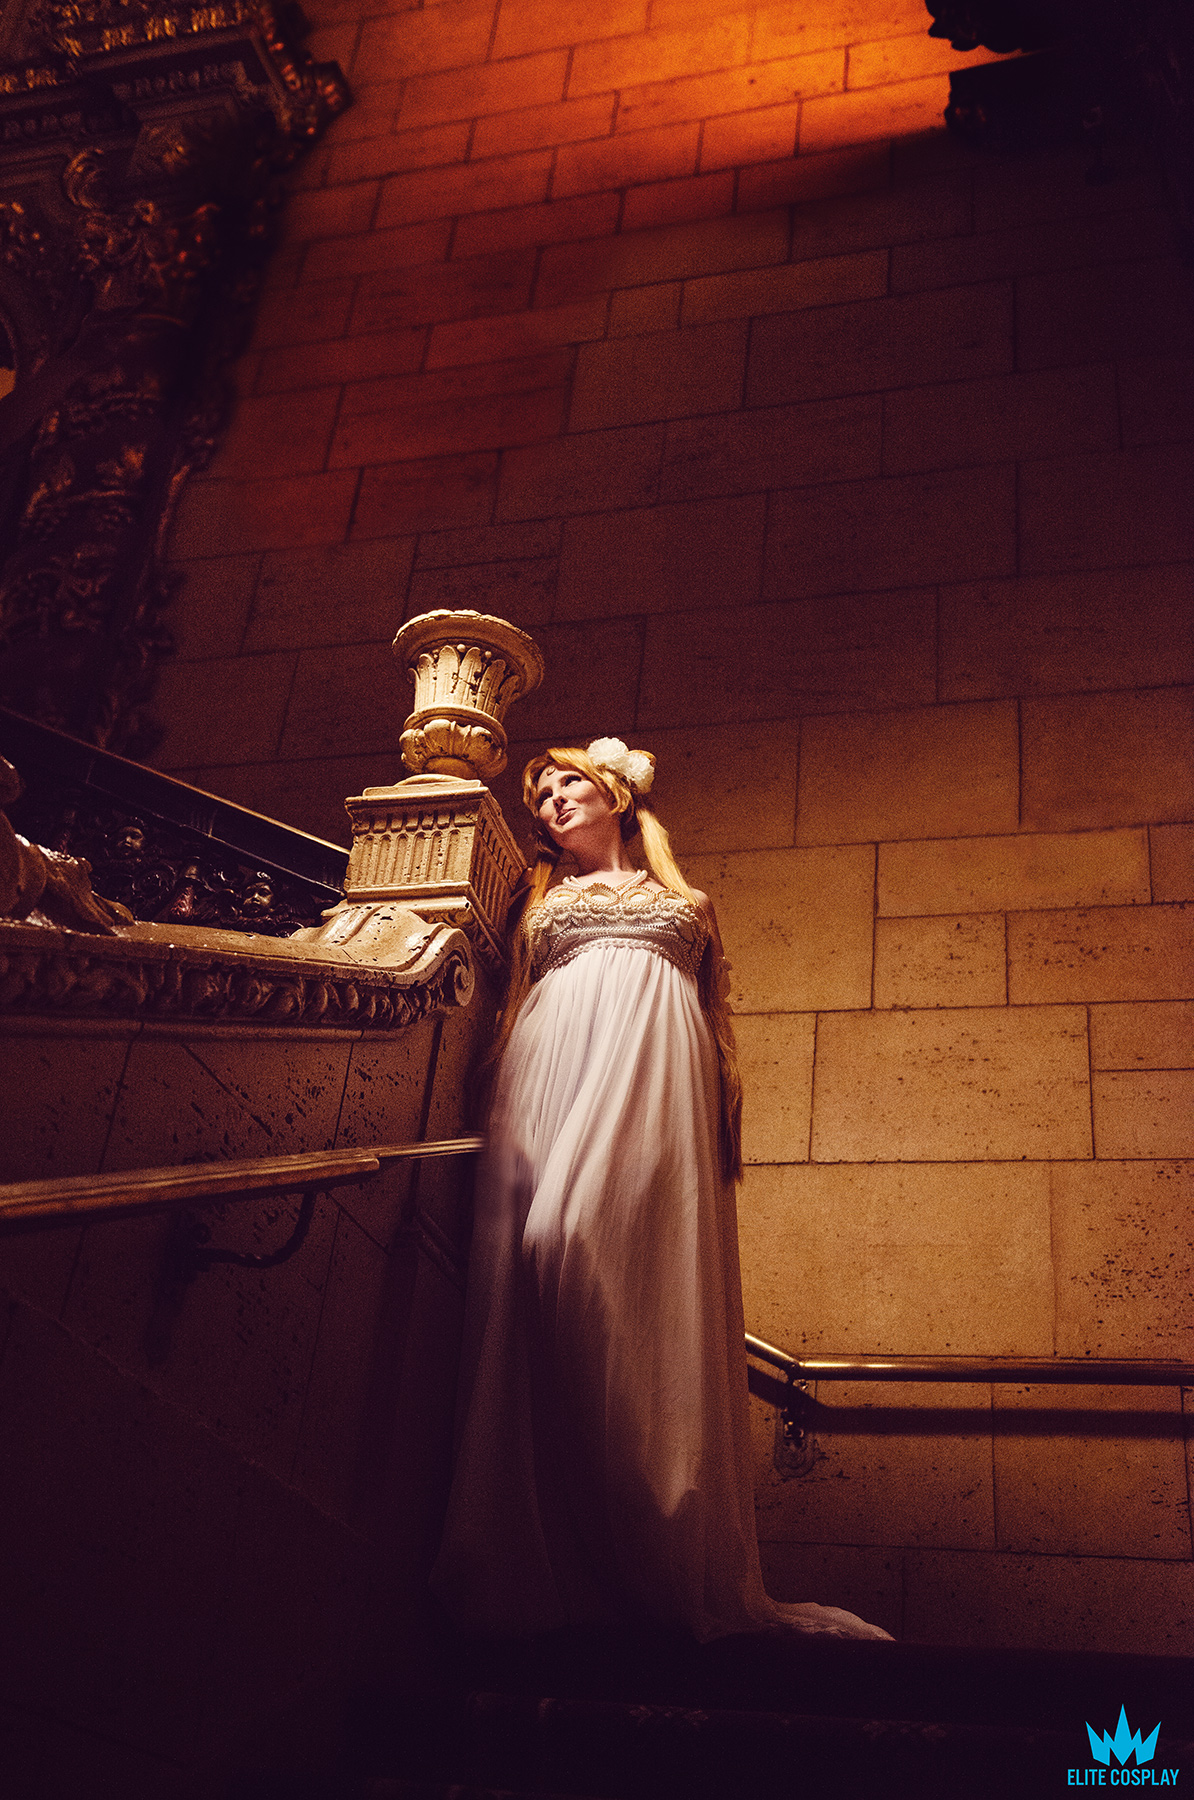
This costume was an adventure and a great learning experience! It is super fun to wear and makes me feel great!
Feel free to check out more of my work at OhMyCosplay.com or my Facebook page, Eli Ebberts!

Eli Ebberts is a LFTDFriend, an avid cosplayer and active member of the cosplay community. Please see more of her beautiful Princess Serenity photos o her website, OhMyCosplay